Home
» Google
»
Google Account Security Before Holiday Shopping: Passkeys and a Recovery Checkup
Google Account Security Before Holiday Shopping: Passkeys and a Recovery Checkup
A new phone, an old recovery email, and a sign-in prompt you did not expect can turn a quick holiday purchase into an account-access problem. A passkey can make signing in more resistant to phishing, but it does not fix outdated recovery details or remove old devices that still have access. A short check before shopping can help you catch those gaps while you still have a trusted device in hand.
Example scenario: Jordan is preparing to shop online and receives a message that appears to be a delivery update. Before clicking anything, Jordan decides to check the Google Account used for receipts and password resets. The example below is hypothetical; it is not a report of a real test or user experience. Use it as a thread for the steps, and verify every decision against your own account.
1. Start from your Google Account, not a link in a message
Open a browser or the Google app yourself and sign in to the account you use for shopping receipts, saved passwords, or recovery. If you manage more than one Google Account, check the profile picture and email address first. A Security Checkup performed on the wrong account will not protect the account you rely on.
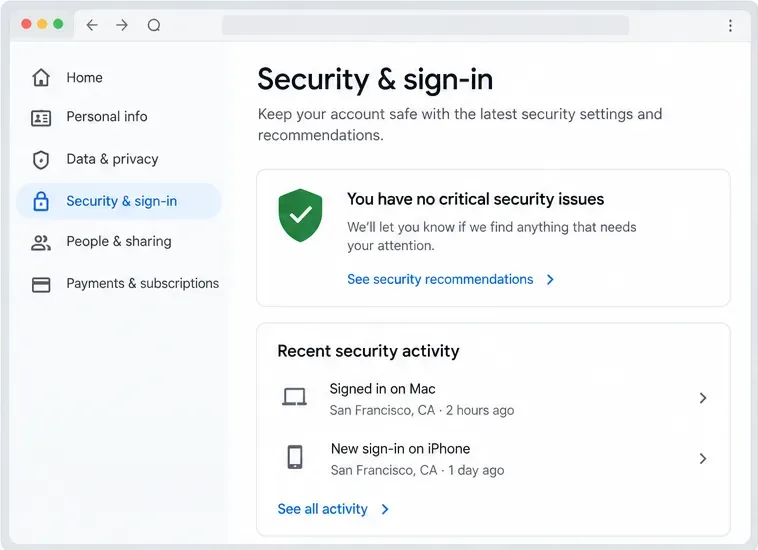
Go to Google Account Security Checkup. Google may also show “Recommended actions” after you select your profile picture. Section names can vary slightly by device or account. Google says the checkup offers personalized security recommendations, including recovery options, passkeys, and 2-Step Verification.
Illustrative Security & sign-in view showing a recommendations card and recent activity panel; your actual account status may look different.
Work from the account page you navigated to directly. Do not use a search ad, delivery text, QR code, or email button as the route to a sign-in screen. A passkey helps defend against phishing because it is tied to the legitimate site or app, but it cannot make a fake link safe to open.
2. Fix recovery options before adding a new sign-in method
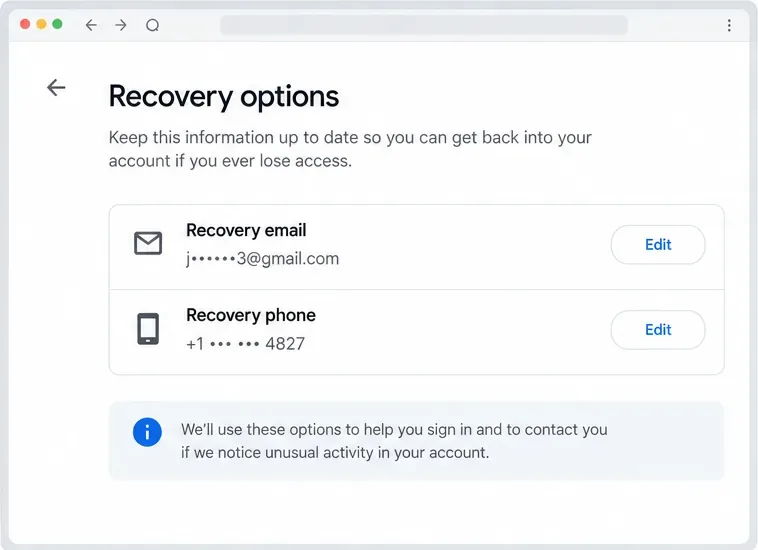
Recovery details are the route back in if you forget a password, lose a device, or Google needs to contact you about unusual activity. In your Google Account, open Security & sign-in and look for Recovery phone and Recovery email. On some interfaces, related settings may appear under Personal info. Review the actual values; do not assume that a number you used years ago still belongs to you.
Illustrative recovery settings with email and phone rows. Confirm that the real contact details shown in your account are current and controlled by you.
Use a phone number you currently control and an email address you check regularly that is different from the address you use to sign in to that Google Account. Avoid a recovery number that depends on access to the same locked account. Google specifically advises against using a Google Voice number as a recovery phone because a verification code could be inaccessible if you cannot sign in.
If you change recovery information, do not expect it to take effect instantly in every security flow. Google says it may continue offering codes to previous recovery information for seven days, and a new recovery phone may take up to seven days to become effective. Add and verify updates well before travel or a major purchase. Never share a verification code with someone who calls or messages you, even if they claim to be support.
3. Add a passkey only to a device you personally control
A passkey is a sign-in credential unlocked with your device’s screen lock, such as a fingerprint, face scan, or PIN. It is not a password that you type into a page. Google describes passkeys as more resistant to phishing because they cannot be copied or entered into a lookalike website in the way a password can.
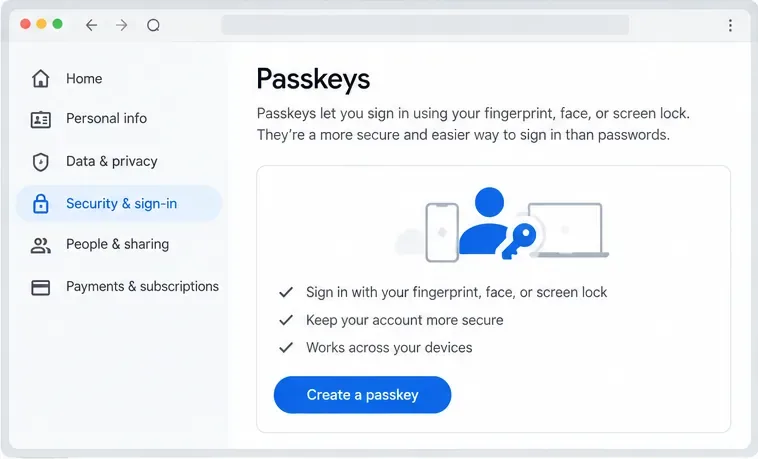
Illustrative Passkeys settings view with a “Create a passkey” control and examples of device-based sign-in.
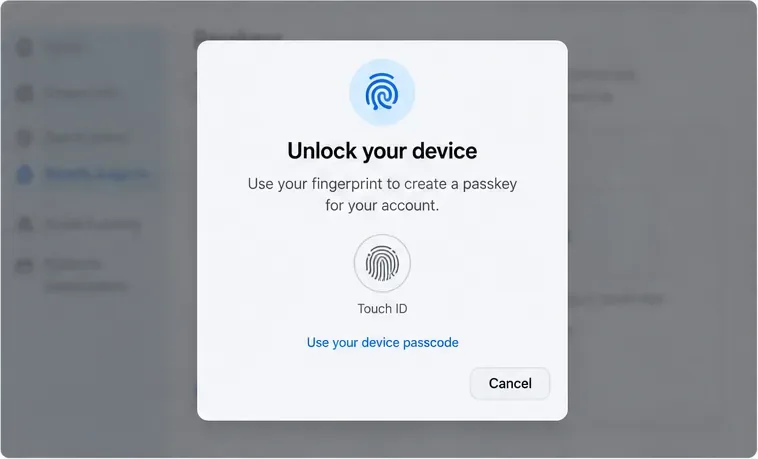
Before you create one, make sure your operating system and browser are up to date and that the phone or computer has a screen lock. Then go to Google Account passkey settings, choose Create a passkey, and follow the device prompt. You may need to sign in again or confirm your identity.
Illustrative device-unlock prompt showing a fingerprint option and a device passcode alternative.
Create passkeys only on devices you own and use. Anyone who can unlock a device with one of your passkeys may be able to access your Google Account, even if you later sign out of that account on the device. Do not create one on a borrowed, shared, public, or work-managed device without understanding its management rules.
Creating your first passkey changes the default experience: Google opts the account into “Skip password when possible,” a passkey-first sign-in flow. You can still choose another sign-in method, and you can turn that preference off under Security & sign-in if you want to enter your password first. Google notes a newly created passkey may take up to seven days to become available at sign-in, so do not wait until checkout to set up your only option.
If you use a work or school Google Workspace account, an administrator may limit whether a passkey can replace a password at sign-in. Google says it can still be available for 2-Step Verification, account recovery, or sensitive actions, depending on the organization’s settings.
4. Keep a second route into the account
A passkey on one phone is convenient, but the phone can be lost, damaged, or left behind. If you use another personal device, you can repeat Google’s passkey setup there. Google also supports compatible FIDO2 security keys. Do not create a backup credential and then store the physical key beside the device it is meant to back up.
Before you rely on the new method, check that you know how to reach Try another way on a sign-in screen and that you can still use a recovery email or phone. Keep an existing trusted session available while checking another device or browser; do not sign out everywhere as a test. If a passkey prompt is missing, Google recommends checking the device screen lock, the “Skip password when possible” setting, and whether the new credential is still within its waiting period.
For added protection, review 2-Step Verification settings. Google recommends stronger second steps than text-message codes to avoid common phishing tactics. Choose only methods you understand and can access if your primary phone is unavailable.
5. Review devices and recent security activity
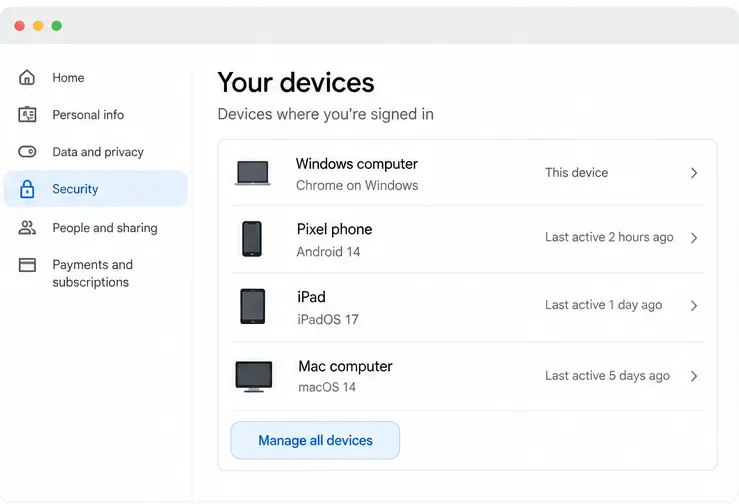
Open Security & sign-in, find Your devices, and review the devices signed in to the account. Compare the list with phones, tablets, and computers you actually use. Select any entry you do not recognize and follow Google’s prompts. If you confirm a device is lost or no longer yours, sign it out or secure the account as Google directs.
Illustrative device list with fictional device examples. Check the names and recent activity in your own account before taking action.
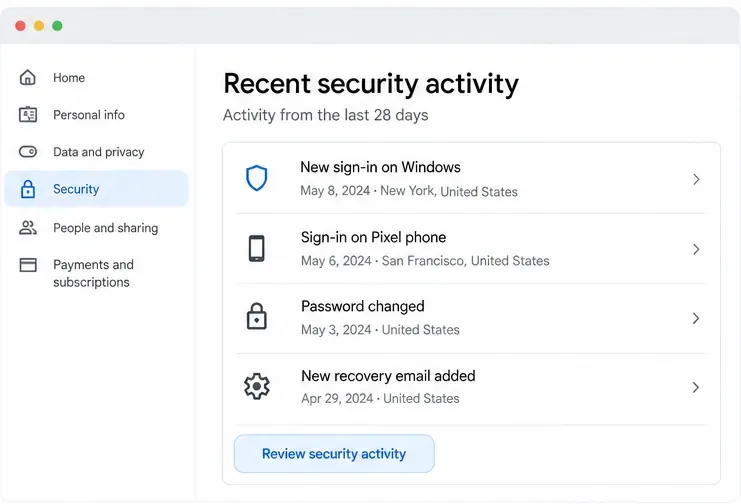
Also review Recent security events. Look for a password change, recovery-detail change, or sign-in you did not make. A location or device label can be unfamiliar for ordinary reasons, so inspect the event details rather than treating a city name alone as proof of a break-in. If you identify an action that was not yours, use Google’s “No, it wasn’t me” or equivalent prompt and follow the account-security steps.
Illustrative activity list containing fictional entries; compare each event with your own sign-in and account-change history.
6. Remove access you no longer need, then verify the result
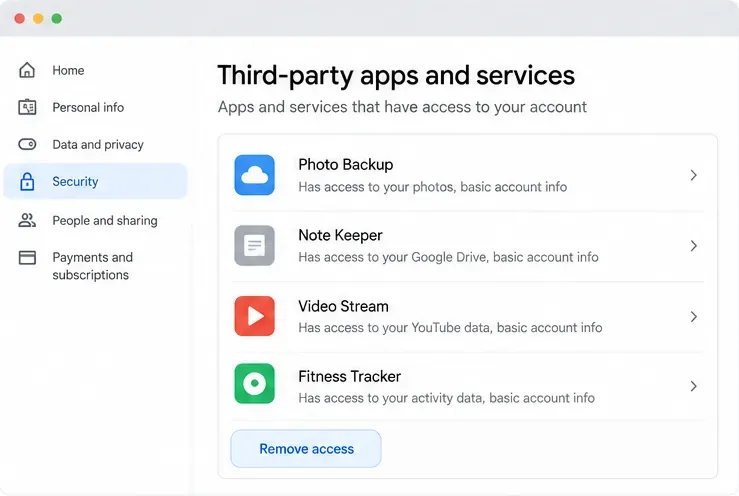
Check the third-party apps and services connected to your Google Account. Revoke access for apps you no longer use or do not recognize. For an app you still need, review exactly which Google data it can access before keeping it connected. Google notes that removing an app’s access stops future access, but it may not delete data the app already copied; you may need to contact that developer separately.
Illustrative connected-app list with fictional names. Review the real permissions on your account and remove only access you do not want to keep.
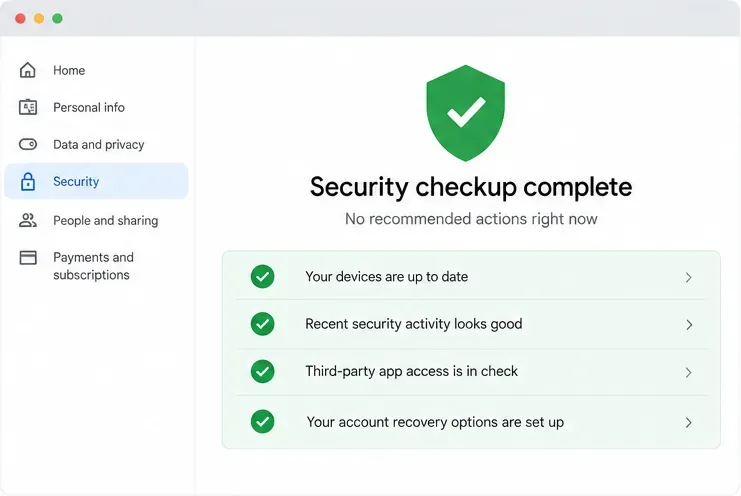
Return to the Security Checkup and finish every recommendation you understand. A green shield or a completed checkup is a useful status signal, but it is not a promise that an account can never be compromised. Security settings work best alongside a unique password, updated devices, careful link handling, and prompt attention to Google security alerts.
Illustrative completed-checkup screen. In your account, confirm that Google’s recommendations are resolved and that the recovery details and devices are familiar.
A quick pre-purchase check
You are reviewing the correct Google Account.
The recovery email is separate, accessible, and checked; the recovery phone still belongs to you.
Your passkey is on a personal device with a screen lock, and you understand the passkey-first sign-in setting.
You know a backup sign-in method and have not tested it by signing out of every trusted session.
The signed-in devices, security events, and connected apps match your activity.
You know how to reach Google Account recovery directly if you are locked out.
Jordan’s hypothetical delivery message still deserves caution: a passkey does not validate a shipping notice or payment request. The useful outcome is that Jordan can identify the correct account, recover it through current contact details, recognize personal devices, and use a phishing-resistant sign-in method on a trusted device. If you discover an unfamiliar successful sign-in or a recovery detail changed without your permission, treat that as a possible compromise: use Google’s account recovery and compromised-account instructions immediately, then review saved payment details and reused passwords.
Source note: Guidance checked against Google Account Help on September 28, 2026. Google may adjust menu labels, availability, and account flows; Workspace administrators and child accounts can have additional controls or restrictions.